Made it out for the first trail run in the new year and had the occasion to test out the recently installed air lockers. Before tomatoes get hurled at me for using air lockers on a trail that some will boast that they've done in 2WD, I will issue the disclaimer now that I used them to climb up onto a boulder that is usually bypassed on the main trail once I demonstrated that my truck would not climb it in standard 4WD.
I almost forgot, I finished making the 2014 Year-in-Review Video on my YouTube Channel. Check it out here:
2014 Year-in-Review Video
Josh and I had been trying to collaborate on a joint ride for the better part of a year. The last time we had wheeled together was over this same weekend in 2014. Otherwise, for much of 2014, either he was wheeling locally and I was off somewhere remotely or in the case of WENT Windrock, it was right around the time that my little guy was due to arrive and his son had made a prompt entry into the world early enough to allow his folks to make the trip. So it just seemed to not be in the cards for 2014. This year our clubs got off to a good start at a familiar trail, Shoe Creek.
 |
| Steve B's clean Glacier White Frontier. |
It was a good turnout. We had intentionally only really opened up the idea to a few drivers in order to keep the size manageable for the trail. Our initial aim was to set up a much larger run at a nearby park, but it became difficult obtaining timely responses and confirmations over the holidays to ensure we had a destination to which to invite multiple trucks. We ultimately opted to do a smaller trail ride.
 |
| No Magellan jokes this time; Josh knew the way...mostly. |
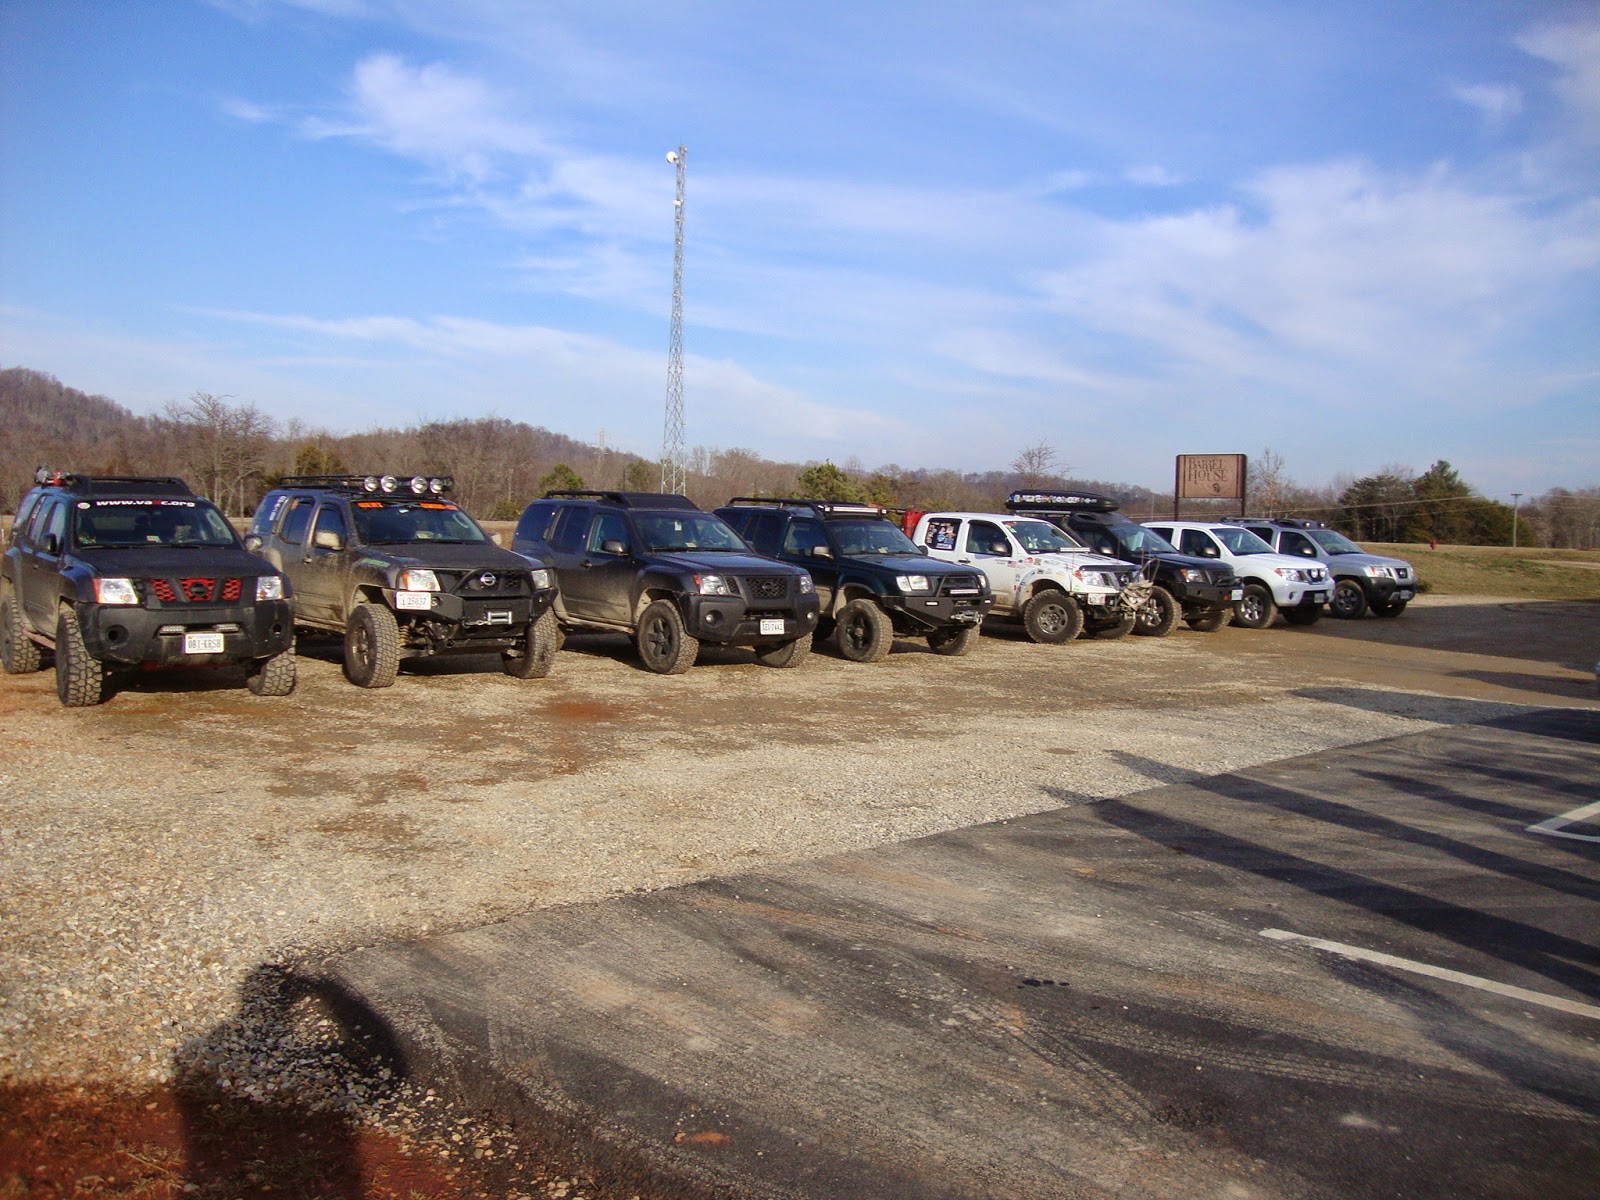
I normally try to get pictures of all the trucks at the meetup, but this go 'round, I was focused on doing some of the last minute preps I had not been able to attend to prior to departing. It was only as we were leaving the Food Lion lot that I realized I hadn't taken any pictures. I don't think any of the other guys had either when I remarked about the oversight on the radio.
Frontiers were well represented. There was also a lone 1st gen which won the award for most liberal use of LED lighting. I thought I had that award in the bag, but given that my 4 mounted on the cage were not fully wired, I think he won. On the drive back to town from Blue Mountain Barrel House, he fell in line behind me and illuminated...everything. It was impressive.
Rob T was tailgunning, and as a result, I may not have a shot of his truck straight on, but I was glad he made it out as well. It had been almost as long since I last wheeled with him with the last trip having been the GPAX Shocker Run at the end of February. As of now, it sounds like both of us will be teed up to make a second consecutive run up there.
 |
| This might be Rob. Maybe? |
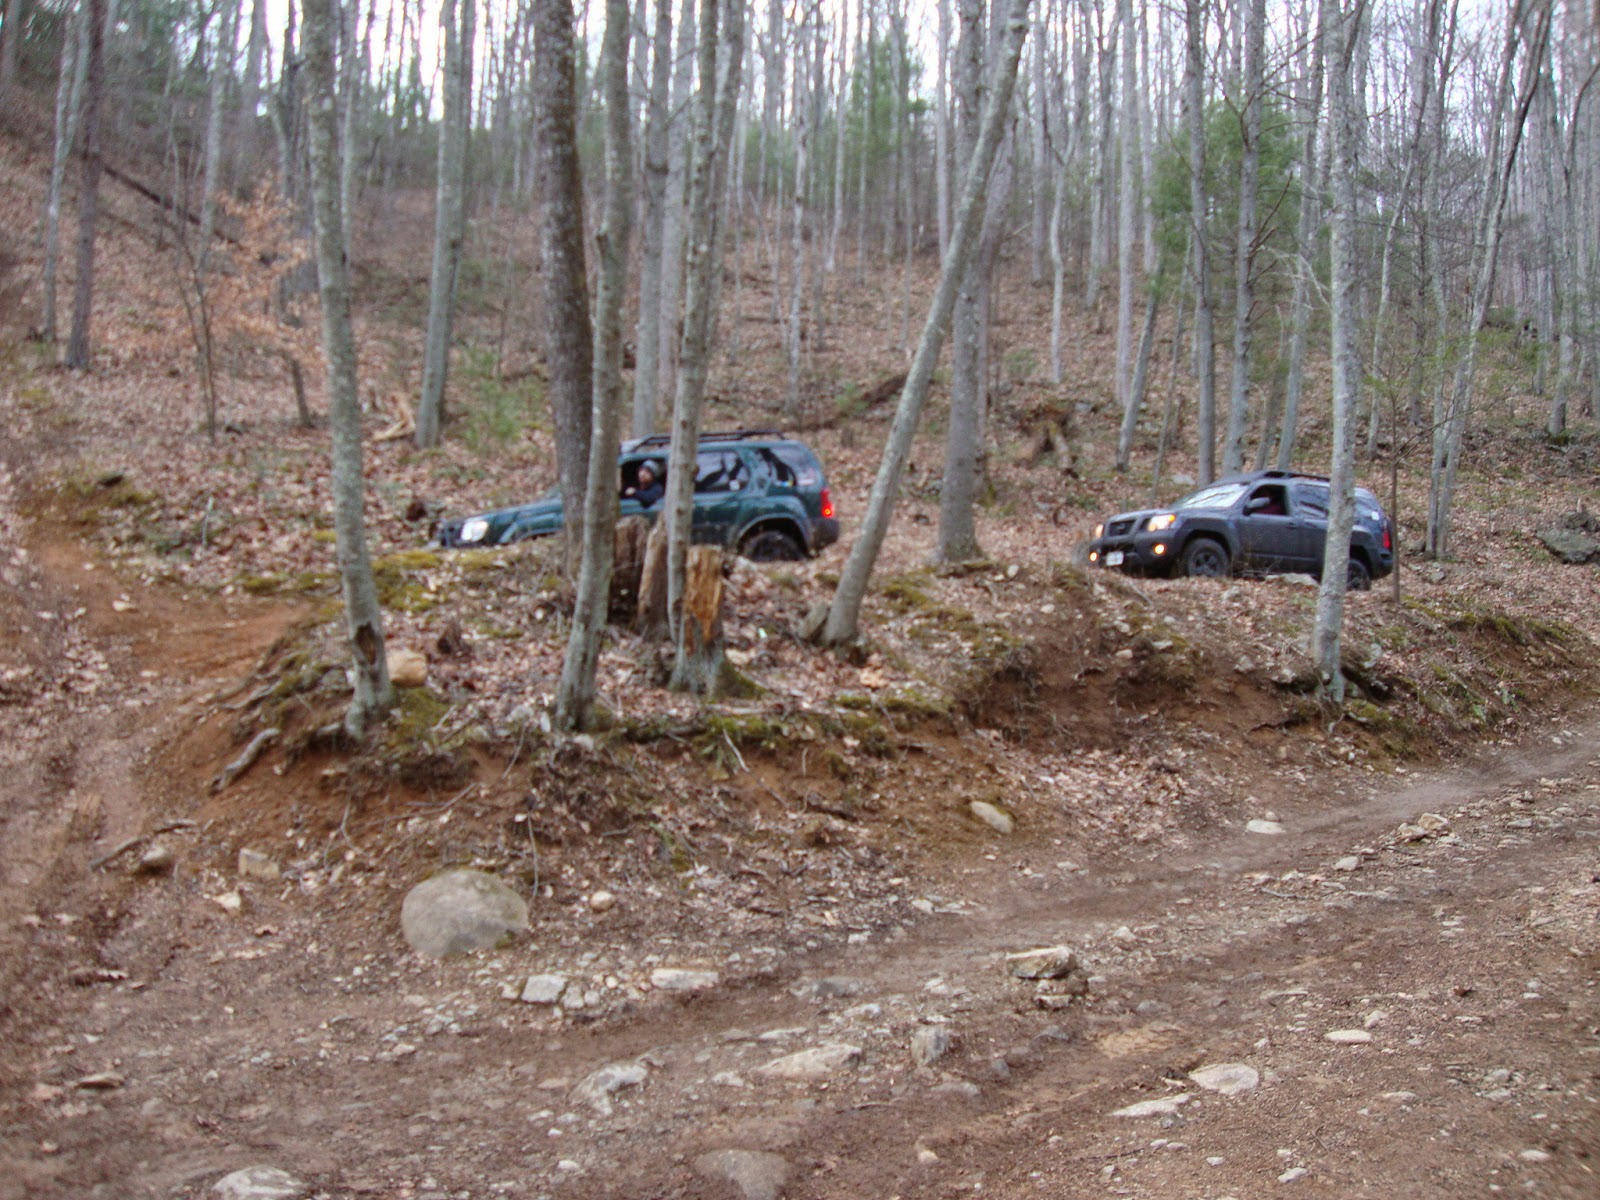
So we stopped at this point in the trail to break for lunch. We were headed uphill as another group was having second thoughts about traversing down this particular section. It was not overly difficult, but depending on your level of armor and experience, there is a risk of some body damage. We chatted some about local trails and the clubs we represented. Josh spotted both of their trucks down through the off-camber section.
Had Steve S. made it out, he would not have been the only 4Runner on the trail that day.
 |
| And then we spotted a Unicorn |
Now, unless the accountant from my old job came out, this surely was going to be the only BMW X5 on the trail. Just for clarity, the accountant did not go off-roading, and this thing was far from stock.
I only got a look at it in passing, but from what I could tell, it appeared he had welded on his own custom sub-frame or one borrowed from a closely approximated donor vehicle. This was NOT mom's car being diverted from getting groceries. It was purposely-built to wheel. Why it was purposely built is still unknown to me, but there was no knocking the effort and ingenuity that clearly had to go into this project vehicle.
The last thing I'll say is that for all the effort, he probably could have traded it in used and gotten enough cash to put down on a new Frontier, but we are a chosen few that answer the call to wheel the Frontier.
So this guy was wheeling (or attempting to wheel) a Titan. And at first I gave him a lot of props for being out there in my truck's big brother. But then he realized late in the game that he wanted to remove his side steps. And that's not such a big deal except he insisted on doing it right in the middle of the trail. It halted progress for like 15-20 minutes waiting for this guy to undo like 6 bolts.
Along the way down off the trail, we picked up Jack E. as he was making his way up the trail to meet us (he had to work that morning). Our full group made it down off the trail together and headed over to Blue Mountain Barrel House. Now this location is separate from the restaurant and brew pub that I happened upon on the drive back from Devil's Backbone following the last run I joined in on with VAXC to Shoe Creek.
The guy in the orange sweatshirt, Chris was actually the driver that had to winch my truck backwards uphill like 3 feet at NXM3 at Windrock in 2013. That episode, along with the issues I had been having with the front winch, led to the epiphany that there could be value in mounting a winch to the rear of a vehicle. It really is a small world and things tend to come full circle.
Art. I made art. And then I drank the art.
Leadership.
The following weekend is ending now. I was able to carve out some time to finish wiring up the lights and to take another go at reconfiguring the truck bed setup. Basically I slid the toolbox forward enough to position the spare tire up against the rear of the bed. The Quick Fist kit I purchased also came with a set of large grippers for mounting tanks. I am using that now in place of the jury-rigged setup that I previously used to mount my 20lb fire extinguisher. I had high hopes of working out a mount for the high lift, but I goofed on figuring out the offsets needed. Basically the headache rack extends too far aft into the bed to make the beam clamp I picked up work as a mounting point in the utilitrac. Oh well. Back to the drawing board.
So this Sunday I was out in the garage and able to working on prepping the truck for this non-event snowstorm which I don't think is going to amount to anything. But I was able to use it to justify the time in the garage. "Honey, I have to make sure the truck is ready in case there IS snow though". So smart.
The idea for this came up during my run down at Dictum Ridge at night. I had almost always had two lights affixed to the sides of the bed after I goofed way back when I was sizing lights to mount on the old chrome bull bar and had lights that were too big (once you factored in their stand) to mount in the opening. Those lights, as you know, got beat to death and were generally rather cheap. Well, when I was by myself on Dictum Ridge at night, I accidentally turned off onto one of the offshoots when making my way back off the trail and ran into a dead end. Trying to three-point turn in the dark was a bit nerve-wracking as I didn't want to again kiss a tree with my recently replaced tail light. The reverse lights just do not kick off enough light. With two lights mounted at each corner, I've got illumination basically 360 degrees around the truck.
 |
| Just with the reverse lights. |
The first are the woods behind my house just with the reverse lights.
 |
| Reverse lights + Canopy Lights |
Now the difference with the reverse lights and the canopy lights. Plus, the first picture probably cheated a little because the flash on my iPhone helped a little with the reverse lights only picture. Look at all that vivid detail now.
I have the Canopy Lights aimed level with their mounting position, but if I wanted them to aim down some, it is just a slight adjustment with an allen key.
I'm also seeing in this photo, that there is a sizeable dark spot directly next to the truck; so, not exactly 360 degrees. But I just mounted mini Rayovac LED flashlights on both front driver and passenger doors. So, if it is really that serious, undo the quick fist and aim the handy flash light directly out of your window. I'm done buying and wiring lights!
Actually, if I pivot the side lights 90 degrees on the mounting bolt, I could aim the floods forward some to cover that dark area, but I'm less concerned with that. The areas immediately to the side of the vehicle, presuming the truck was in motion, had previously been illuminated by all of the forward lighting. I guess I could get some LED strips and mount them along the tops of the rock sliders. That would probably be overkill though.
Overexposed the camera.
I always think of Jurassic park when I set the truck back here. Not even using the other halogen lights.
More of the side and rear.
That's all I got.