Words of CAUTION-
The hood is not the strongest place to mount a jack. I knew this much going in and thought I had sufficiently mitigated the risk in my approach. The two layers of sheet metal WILL deflect towards one another if you overtighten your bolts as I did. The hood sheet metal WILL deflect some if you travel over rough terrain (at speed on highways and likely while traversing offroad) with the jack installed.
I will attempt to mitigate this by infilling the hood with foam to add some internal rigidity. If successful, I will modify this post to indicate such.
My blog is about equal parts of "What to do" as it is "What not to do". This mod epitomizes this apprehension we all must carry in emulating that which we find on the internet.
So this is essentially the 'finished product'. It is a result of two contributing factors: 1) a bad case of Jeep envy; and, 2) the need to relocate my forward "camp lights" to a lower position on the truck so I can fit into commercial garages.

There is a Jeep that parks near the location of my Wednesday night class. I've seen photos of Hi-Lift Jacks mounted on the hoods of Jeeps, but this was the first one that I'd seen in real life. This is probably owing to the fact that it is not a very practical location for it. I perused some Jeep Forums and it is almost unanimously regarded with disdain as a "Mall Crawler mod"...i.e. done by someone just trying to show off without having any real off-road prowess or exposure done purely for cosmetics. I'm probably somewhere in the middle. I will wheel, just not very hard because this is all I've got for the next few years until she's paid off :) .

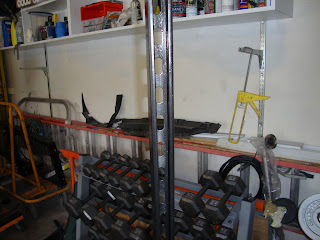
After having done the installation of the snorkel, I've found I have little to no apprehension for cutting into my relatively new truck's sheet metal anymore. Originally, I was going to utilize the already drilled openings in the hood viewable from the underside in the next shot. A quick measurement confirmed, however, that their spacing would exceed the points on the jack through which I could pass a bolt for the purposes of mounting to the hood. These holes actually represent the location of two 'depressions' which were also under the hood. So I identified the center and drilled my pilot holes up through the bottom of the hood. All subsequent drilling to enlarge the holes were then drilled from the top of the hood down to direct any burrs to the underside of the hood.
Shot from the underside after I had drilled the pilot holes.
I decided to use 3/8" 16-pitch thread bolts for the purposes of mounting my bracket and also to serve as the mounting studs for the jack itself. I provided two applications of Rustoleum rust-inhibiting paint to the holes as was done with the snorkel installation.

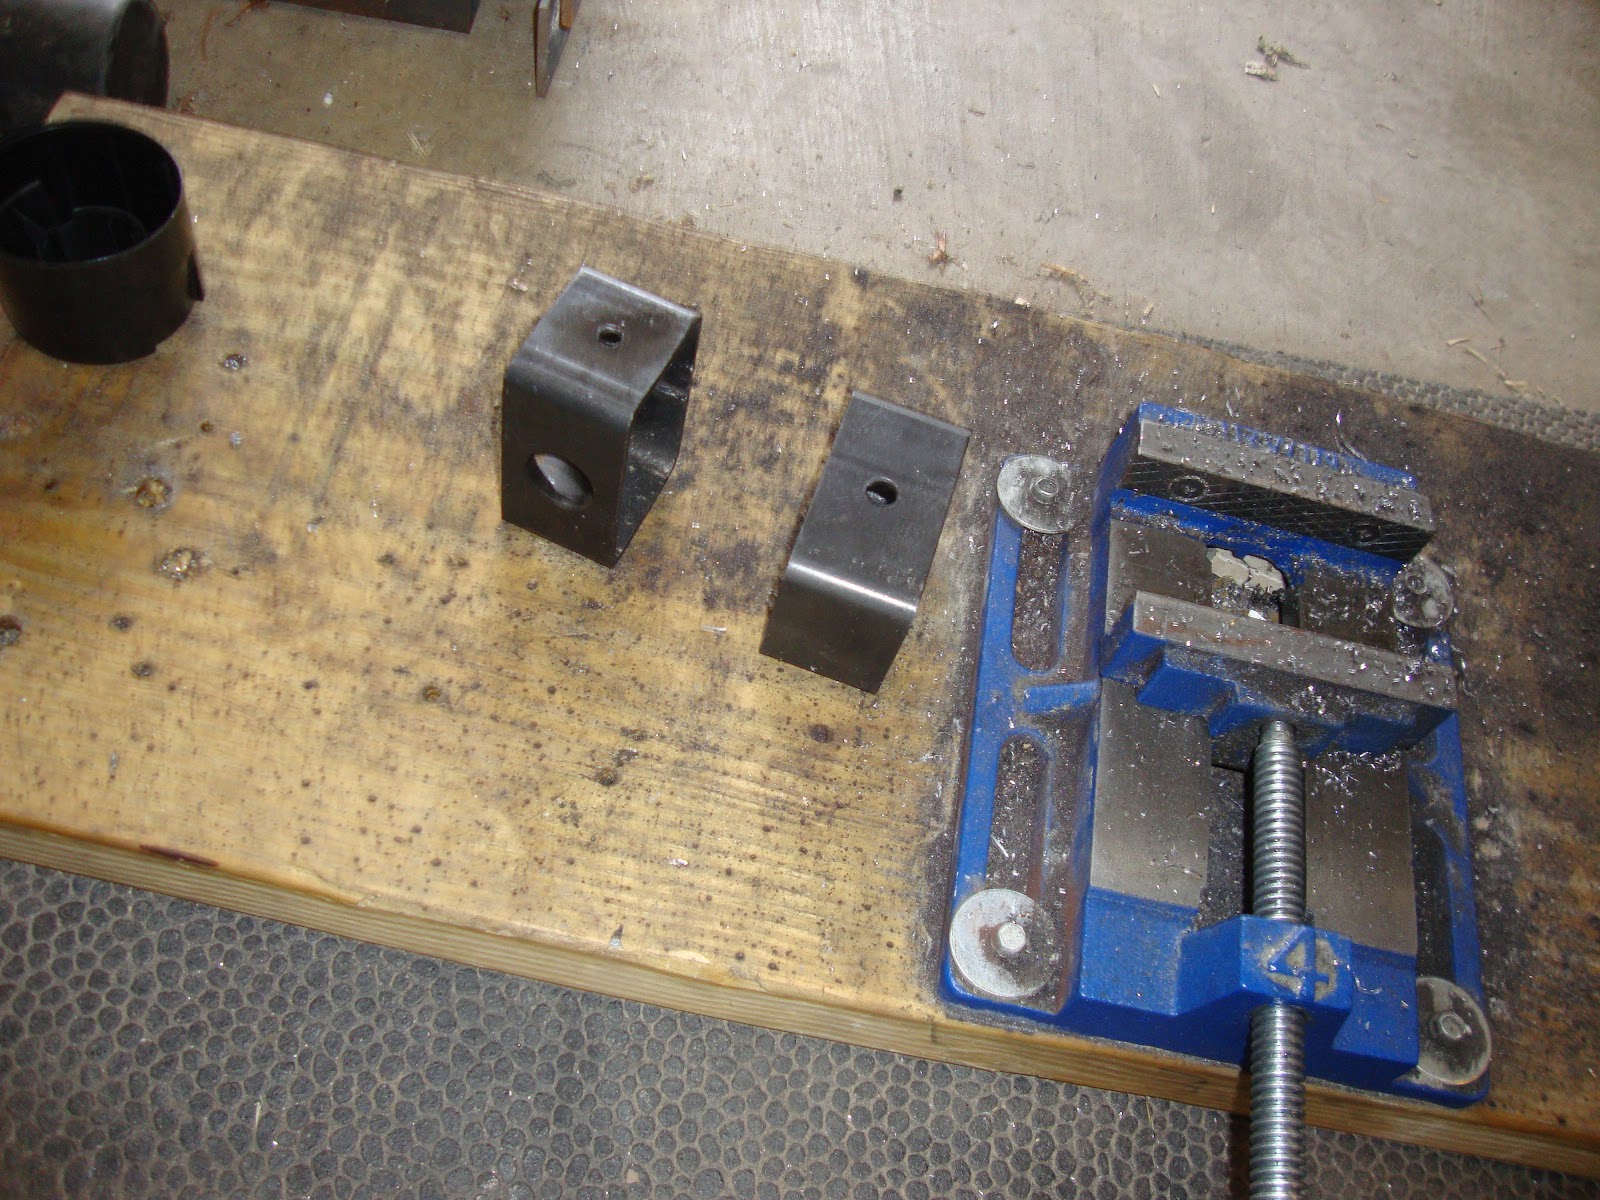
These two brackets were left over from the Automotive Customizers 2" Body Lift kit. As I've stated before...I don't throw anything away. I drilled the 1/4" hole in the 'front' of these two brackets to accommodate the mounting of my camp lights. The camp lights are run off of the second battery of my dual battery system. My intent is to use these for task lighting while setting up camp or during other activities in the vicinity of the truck during twilight hours where I'd prefer to not to run off of the primary starting battery. I placed the brackets on the truck such that the larger pre-drilled holes are facing upward to allow for any shifting of the mounting studs that I was using to secure the jack. My jack is not a true "Hi-Lift" brand jack. It is a 48" Farm Jack that I picked up from Tractor Supply Co immediately prior to the Utah trip.
In order to conceal the cabling of the lights that I planned on running to the jack mount, I picked up another piece of scrap unistrut from the jobsite. This was a section that had been run over by some earth-moving equipment. I re-pryed it back open, cleaned it up, and spray-painted it black with Rustoleum Hammered finish. The holes ended up being roughly 26" on center (o.c.). First I ran the split loom containing additional 16-gauge wiring (wrapped in electrical tape) into the unistrut. I then slid the unistrut in the two brackets and aligned the openings in the strut with the pre-drilled holes in the bracket. I threaded the bolts through with a washer to sandwich the unistrut between the washer and the top surface of the lower part of the bracket. I picked up a few water hose gaskets, using the black tubular gasket for the outer surface, and the brown fender washer style gaskets for the underside to fit into the depression. I then applied another actual metal fender washer and a nylon locknut to complete the lower assembly.
The upper studs were formed using a second set of 3/8" bolts. In both applications I used a 3" bolt so that I had the option of cutting down to size if I so chose. I used fender washers again to sandwich the top portion of the unistrut up against the lower surface of the square bracket. I used nylon lock nuts again to secure this portion. The jack is then held in place by a set of wing nuts and two more washers. I got the idea from one of the forums to use a firearm lock (with the flexible cording) to secure the jack to the brackets.

Again the finished product. I rewired the lights to provide an extension for them to reach down to the hood. In this case, I was able to use the snorkel (barely visible over on the driver side against the night backdrop) to secure the split loom using black cable ties. To relocate the lights, I simply cut the leads at the back of the light housing and employed low voltage disconnects left over from the original build of the cargo basket so that I could avoid any subsequent cutting and resplicing of wires at the lights themselves. Back where I cut the lights free; however, I did end up splicing the original wiring to the new wiring extension. I just used commercial style wire nuts, wrapped them up in electrical tape, and tucked the bundles into the unistrut I have mounted to the undersides of the roof rack cross bars for protection. I had purchased all-weather junction boxes for this purpose, but I'm considering removing the roof rack altogehter and just transporting the components in the truck bed for use if I have to carry a roof load. The only barrier to doing that is that I am using portions of the rack to channel the wiring for my camp lights across the top. I may ultimately choose to reroute the cabling underneath the truck in Liquid-tite and/or conduit as I've done for other cabling to preserve that option.


No comments:
Post a Comment
Hey! Let me know what you thought of the post or how you came to stumble on this little corner of what we call, "the interwebs". Thanks for stopping by and leaving a comment.
-will