My Girl: Gettin' After It!!

My Girl: Gettin' After It!!
My truck on her maiden voyage in Moab 2012

Friday, December 26, 2014

Reworking the Skids

It finally happened. I had hoped to actually be in the shop over the course of the couple of days they were working on swapping out my differentials. Life got in the way. My wife's work schedule was not clear to me until maybe the week before I had initially scheduled and had planned to take off work. Then I had to reschedule the shop work, and by the time I got confirmation, it was too late to give my job notice. Plus a few key meetings shifted to that same week. So I don't have any photos of the differential work.

I think I wrote previously about the sad state of the undercarriage anchor points. I had wanted to order a new radiator skid and thereafter rework attachment points. With the holidays looming, and the reality that I really needed a full set and not just one, I decided to save my money and see if I could come up with something inventive in the near term to re-establish the locations where the weld nuts had failed and remount the skids. I believe I have succeeded.


It might have been Keith's rig up at Pine Barrens that had one which inspired me
 I had really hoped that ARB might make a rear differential cover for the C200K. We were up at Pine Barrens when I caught a glimpse of someone's aftermarket cover. I think it was Keith R. Anyway, I asked him over the radio and he advised it was Ballistic Fabrication that made them. I went to their site around the time I was poised to pull the trigger on the front and rear lockers. They were out of stock. I checked another smaller fabricator and they were not fabricating any at this time either. It turned out that 4x4parts.com carries a few Ballistic Fab covers in stock. I ordered it and started getting it prepped in advance of the differential work.


I forgot he had a nose and neglected to cut out that part of the tape masking.

 I brought Veronica in for an initial consultation. I had hoped to have dropped all of the skids by then, but things came up. Baby things. There was no getting around it at this point when I had to bring her by for the actual work. This is the rear differential skid I got from 4x4parts.com a year or so ago. I was too much of a punk at the time to consider taking off my differential cover; so, I opted for the skid.  It started off silver. Then I rattle-canned it (spray-painted) black once I noticed the finish was flaking and getting scrapped. Clearly it was doing its job and was skidding off of stuff.

I decided I would take the opportunity to clean this up and return it back into service also even though I was going with a heavier duty cover.
 One of the U-bolts got absolutely creamed and the nut was partially sheered off. The closest size I could obtain was 3" pipe U-bolts, but the spacing wasn't quite right. It took some manipulation in the vice to get it to work with the hardware.
 I had actually planned on discarding the two skids to the right. The silver one is the improvised truck body shelving that I used as a transmission pan skid. Beneath it is the Pro-4x engine skid which runs along the side of the front differential. I really wish it was extended to offer some protection to the front differential housing which hangs just a little bit below the frame right there in the same vicinity. I decided a few days ago I was going to keep them for a few months longer until I can get heavier duty skids to expand protection in those areas.I painted the rear differential skid to now match the rear differential cover.
 The red split loom is the air line going into the rear differential housing. The guys at Arlington Motorcar Service gave me a bunch of ARB stickers. I just decided to slap this one on the housing.
 These artifacts are the four bolts that were free-spinning due to the snapped weld nuts. I hit them rather decisively with the angle grinder to liberate them one and for all.
 I took a shot of the vulnerable underside sans skids. The little bit of blue hose is the air line to the front differential. I gave the tech extra split loom to run onto the tubing, but alas, it appears this is something I will have to do.
T-nuts. One original, one modified.
 I did some research on the various approaches to correcting sheered weld nuts. I tried finding nut-serts or rivet nuts at my local Home Depot and the Lowes. They are not carried here. I couldn't even find them online. I ran across a couple of posts that indicate that you can order them from McMaster-Carr, which I did verify. You also will need a tool. They sell kits of between 50-100 depending on preferred thread size, but, at most I would need maybe 10 (?)

Then there were other more invasive approaches of either cutting into the frame, rewelding the nuts and then welding the frame shut. There were approaches of fishing a bolt welded to a small plate and having the reverse mounting approach where a stud is always available below the frame and the nut is mated up. I wanted to avoid that though so as not to have to deal with sheered studs in the near future.

What I arrived at independently was to try to take these T-nuts, flatten out the head, and see about welding them to the frame. I thought, in the worst case, I might need to ream out the existing holes a bit to accommodate the body. As it turned out, the 1/4-20 size fit perfectly for the two engine skid locations without any drilling. The two other locations for the stock radiator skid were a little smaller of an opening. As I am not mounting a true radiator skid at this time, I just left those openings alone for the time being.
 Initially, I tried wedging them against the clamp body, but this proved to be too loose of a fitting. I ultimately put a jack stand beneath the bolt and then rotated the bolt until the bolt head pressed firmly against the top of the jack stand.

 I did note that Nissan did provide ample holes in the frame which could probably support the welded bolt-stud approach I described above. Anyway, I welded them into place and then ground down the welds. In the worst case scenario, I could just grind these away and then drill out the hole to rid myself of the T-nuts if this turned out to be a bust. For now, they appear to be holding firm.

I went ahead and bolted up the silver skid. There was nothing special about that operation; so, there are no photos. I just got replacement hardware and was sure to turn the bolts so that the threaded portions were up towards the underside of the body. For some reason, the first go 'round, I had the front anchor locations with the bolts facing down. The one on the driver side ultimately had to be cut off to liberate that skid plate.

So the front was a special story, for which I reached back into the photo archives.

 To get the stupid thing off, I ended up cutting with the angle grinder just below the anchor bolt holes (these are salvaged column leveling plates from a jobsite).
This was the aftermath of removing it the first go 'round. And I never wanted to again deal with the pain of accessing the two 6" bolts that help hold it to the rear cross member. Well, out of necessity, I did have to revert back to relying on this skid plate. To facilitate connecting and being able to more readily remove it in the future, I took another scrap piece of leveling plate and lined up the anchor bolt hole locations. I bolted it up at the top of the plate and then welded it to the remnant shown above.
The outcome is that I now have 4 bolted attachment points which I can unbolt in order to drop the full assembly in the future. That little two inch lip will probably need to be ground off at some point, but I can await the arrival of my new skid set (whenever I get the money and place the order) before I have to tackle that job.

So I'm about as armored up as I was before.

I can hit some trails now and test out the new prowess afforded the truck via the recently installed traction aids. And I am one more critical step closer to trying to tackle the Rubicon. When I get the heavy duty skids on, it'll be go time.

Sunday, November 30, 2014

Maintenance

The long holiday weekend didn't quite go as I had hoped. There was a chance a couple of items I had ordered might have shown up on Friday. They didn't. Not that it would have mattered much, as I lost most of the weekend to domestic duties.

Ever since I saw that Driven To Extremes series of videos ( https://www.shellhelixdriventoextremes.com/ ), I've been interested in using better motor oil in the truck. I decided I would look into it after the first 100K miles As it turns out, one pays quite the premium to have a shop do a synthetic oil change (although the tasks are the same) above and beyond the price differential between conventional and full synthetic. It seems that the Helix formulation is branded and marketed abroad; the best we can hope to obtain here is Pennzoil Platinum or Pennzoil Platinum Ultra (although I couldn't find Ultra in the weight I needed-- 5W-30-- and none of the limited varieties came in a 5 quart package).

I had just been to AutoZone a few days ago as I was finally getting around to putting together my spare fuels kit. So I was back again in as many days to pick up a bit more oil and a couple other items to facilitate doing my own oil change.

While I was at it, I figured it would be a good time to remove some of the skid plates that would preclude access to the front differential for the locker work that'll be done in a few weeks.

The oil change was uneventful. I am a bit remiss that I've not been doing it myself, at least these past 3 years or so. I had the luxury of space and time. Still got the space, but not as much time.

Next was the skids...

 This shot probably doesn't give sufficient perspective.  I did this out of frustration upon having sheared off two sets of the stock radiator skids in as many trips. I made a pretty stout ice breaker. I couldn't get the angles right on a release mechanism. So I just welded the damned thing to the underside of the winch channel. It was plenty stout, alright. After about 30 minutes with the angle grinder, I was able to cut through the plate in the mid-span.
 Undoing the bolts on the backside was another matter. I don't know what infant fingers I borrowed to get the bolts through there and snugged down, because I was having all manner of difficulty getting them out this evening. Probably didn't help matters that there was about 3 lbs of Pine Barrens and another 5 lbs of GWNF caked up in there along with oil drippings from prior oil and filter changes. That was another 30 minutes gone for two bolts. The Washington Football Team was not playing particularly well; so, at least I didn't miss out on any good football watching wrangling with these plates.


Next was a Pro-4x skid that was pretty banged up. One bolt was inexplicably gone. It has been replaced like three times and it just works its way loose. Two others were partly shielded by the horizontal L leg of the radiator skid. Once the radiator skid was down, It was apparent that both weld nuts for these bolts had knocked themselves loose. Fortunately, in the front of the skid, the openings are notched so that you can slide the front of the plate into place and then snug the bolts down to retain it. So of the 4 bolts that are to retain this plate, only one was found to be serviceable. Either I'm too rough on this truck, or Nissan is not applying enough welding to the weld nuts to enable them to withstand vibrations and impacts associated with the truck's use. I need to do something better at this location also owing to the fact that my engine oil pan/sump pan also took a good lump right at the drain plug. Fortunately, the plug still retains oil and can be serviced without issue for now.


 So I made this transmission skid out of some truck body shelving. One bolt had sheered off completely;  one I snapped off with my sheer strength (unintentionally);  a third bolt was serviceable and simply unbolted, and the last had been bent back from an impact and could only be cut free with an angle grinder.


I am going to have to do some significant rework to the frame to revise new mounting tabs/points for any skids I hope to mount in the future. I am also going to have to look into those recessed head fasteners to help remedy the shearing issues I've encountered.

Although I'd like to be back on the trails in January, it may take me some time to work through my protection concerns before I get back out there. We shall see.

Sunday, November 2, 2014

Riding around town

A little less wheeling; a little more tooling around town.

These are a few of the trucks and sights I see when I'm going here and there.

 So this was another visit to a Babies R Us and another chance encounter with presumably a bro who knocked up his lady and now has to make trips to Babies R Us as well. No reason for us to not have trucks.

 This guy is either single, or it swings so low that absolutely no F-s are given. It is like part truck, part bus, part limousine. I admire your moxy, sir. Outside of my office.
 This Disco is outside of the premises of a new client that I'll be representing. Another member has one too. He almost ran me over; so, I didn't bother to take a pic of his truck. But maybe one day, under less swampy conditions, I might get a redo.


I parked outside of a Target because I needed to get a breast pump bra. I have no shame in having had to perform this errand. I pulled to this area of the lot because I prefer the pull-thru spots and this was the only portion of the lot that permitted such. Well, when I came back, this FJ felt the need to follow my lead. I probably should have left a note. I think he needed a friend to show him the way.

 Parked over in Steve S's neighborhood there is a Jeep Cherokee that is pretty built up. Belongs to some college kids. We knocked on their door and chatted them up. I think they probably dismissed us as some old, and slightly drunk men who are still hanging on desperately to their youth. They would not be wrong. But maybe, just maybe they'll come out for a trail ride.

 In another client's lot, I spied this Nismo Juke. When the Frontier is built and paid off, I'll probably find a nice, used, low mileage Juke.
We took the kids to the pumpkin patch. And I saw this gem among the various mommy vans. I wanted to be friends with it.

That's about all of the drooling I've done over the past few weeks. A couple of times, I was just too slow on the draw to get the phone out. That's alright. I keep my eyes peeled for good builds.

Monday, October 13, 2014

Pine Barrens, NJ 10-12-14

Man oh man am I a lucky duck! I didn't think I'd be off road again until maybe mid-2015. It actually posed serious relevancy concerns for the prospects of this blog and my aspirations for the club. You can't really have an off road club if you don't actually do off highway rides, can you?

I kinda sighed one night while scrolling through Facebook and my wife inquired what was wrong. Not even trying to insinuate anything, I just stated that I had wanted to try to hit up Pine Barrens this summer, but didn't get the chance. Essentially the timing of other offerings meant I had to make some hard choices, and ultimately I decided to forego organizing a trip there in favor of one of the other rides that actually materialized. Well, there was talks about a trip in October and I was going to have to miss out; so, I was a bit bummed.

And that's when this angel of a woman says to me, "Well, if you really have to take your truck off road, I'd prefer you go now while I'm still on maternity leave."

REALLY?!

It was a done deal after that.

One of the young ladies in GPAX had posted the inquiry and I immediately pounced. It probably was a bit disconcerting, but we tend to be a passionate crowd.

Well, without further adieu, here are some pictures and comments:

 Dani once again head faked me. Shows up with the pink Snickerdoodle X, gets me all amped thinking we're actually going to wheel the same trails for the first time ever together,..and then drops the bomb that she really just came to say "Hi" and meet Casey. When I first started wheeling, I was in a lesser class; I think she runs Blues. I was running Greens. I think Veronica is now Blue worthy, but we haven't caught up. Repairs sidelined Dani at the last one. Today she was up and running but just for a drive by.

 Casey's Red X arrived next.
 Maddy played with Dani's dog. Then they got a bit spirited.

 Several other lesser Xs arrived [ :) kidding], but this was the one we had been waiting on. Cruzer actually drove to my house maybe a week or two prior to pick up some gear I had held in trust until he returned to the states. But the dude showed  up in like a Hyundai Sonata. I was so upset. This was the first time seeing the GRRRILLA X in person.

I spent some time admiring the shock hoops. 

 Cruzer's built another pretty formidable X himself. This one is an east coast legend that had been sent out to Colorado for a while before he acquired it and brought it back east. You'll have to find the build thread yourself as it is entirely too much to transcribe here. But basically it has jeep axles and drive train and is running some pretty sizable tires. As Ben described it, it is a rolling office building compared to the rest of us. And it proved on this day that it was more than just a big show truck.
 This X would not stay this clean for long.
 So we lost a guy before the first water crossing. We all have different comfort zones. I get that. If you want to take a bypass, that's cool. If certain obstacles aren't your cup of tea, no pressure. But if you come to the Pine Barrens, you should know you're going to get wet. This one dude saw the first water crossing and was like, "Peace be with you...and also with you" and left.
 Cruzer had the baddest truck by far. I also have a snorkel and never leave for a trail without bringing my trusty waders. Between the two of us, we played life guard and confirmed depths for some of the other riders.
 Ben is a mountain man. He's a mountain of a man, (with a heart of gold) and also wears shorts when the rest of us are wearing long pants and sweaters. He had intrepidly been wading in knee deep with his Crocs to check some of the water before I got my waders out. And even after I got the waders, he was still mixing it up. Well, my man lost his footing on one such excursion, and the big guy took quite the tumble. It actually took him nearly 2 minutes to completely fall prone into the water. There were several attempts, during the 2 minute fall where it looked like he might have succeeded in regaining his balance, which is what made the final splash that much more enjoyable. Anyway, my man stripped butt naked and changed clothes right there on the trail. That was his folly and his immediate web redemption.
 It is not a trail ride until I high-center. So here is the gratuitous high centering shot.

Ben had warned me there was a large jagged rock on driver side immediately beyond the crest. So I didn't want to take it at full throttle and cascade the full weight of the truck down on a single point. I, of course, did the tactical opposite which is to pussy-foot the obstacle instead and then teeter totter up top.

Ben swung back around and snatched me backwards. Then I took it again with the appropriate level of get-sum, and was able to get by. He was just returning the favor as I had moments ago pulled him from a bubbly quagmire when he had gone to the right side of a deep pool. Figuring I couldn't fare any worse, I plowed ahead along the left side and was able to scoot past and drop a tow strap back and extract his X. We determined from there on out that the motto for this place should be "Pine Barrens: Always go left". We legit tested 6-7 more crossings and each time, the leftmost side was the passable side. There was only one noted exception for which I have video where the bypass was to the right, and the main path, a deeply rutted, yellow clay bath could only be traversed by a vehicle of the likes of the GRRRILLA.
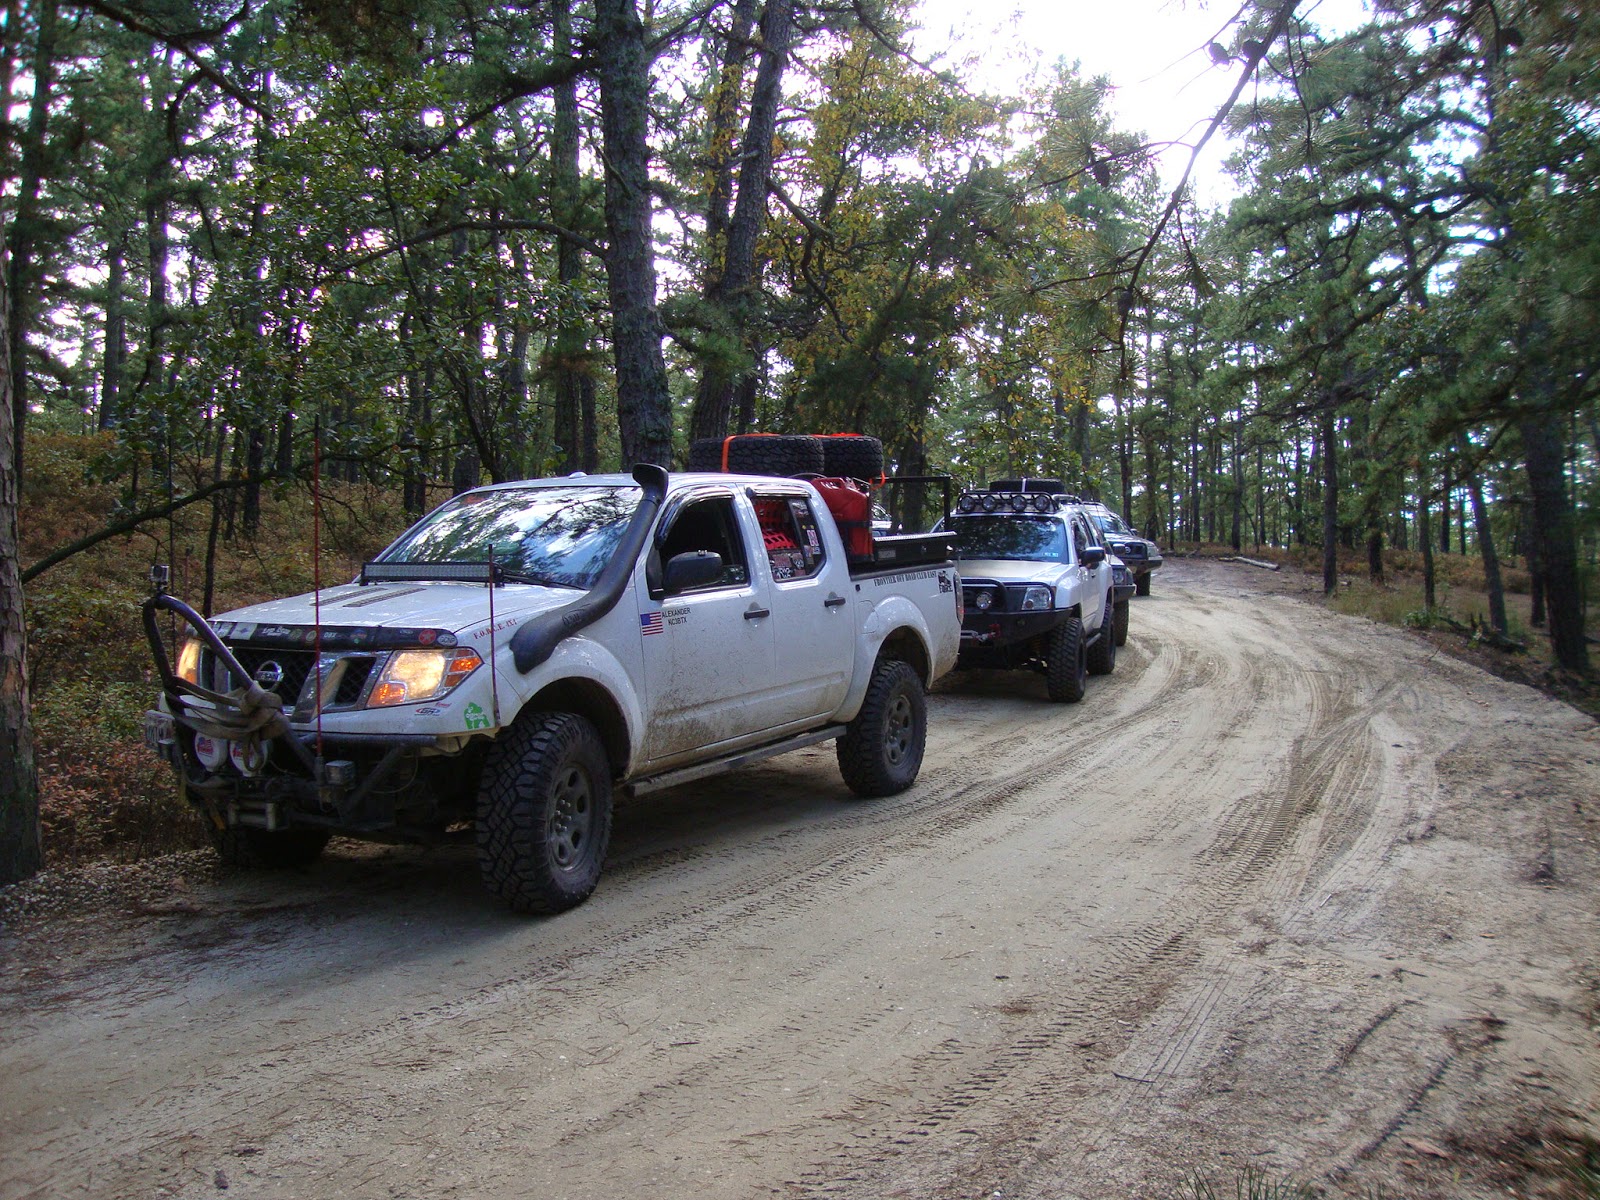
 Just some shots from throughout the day. Folks can just snag these for their own use.


 Beast mode.
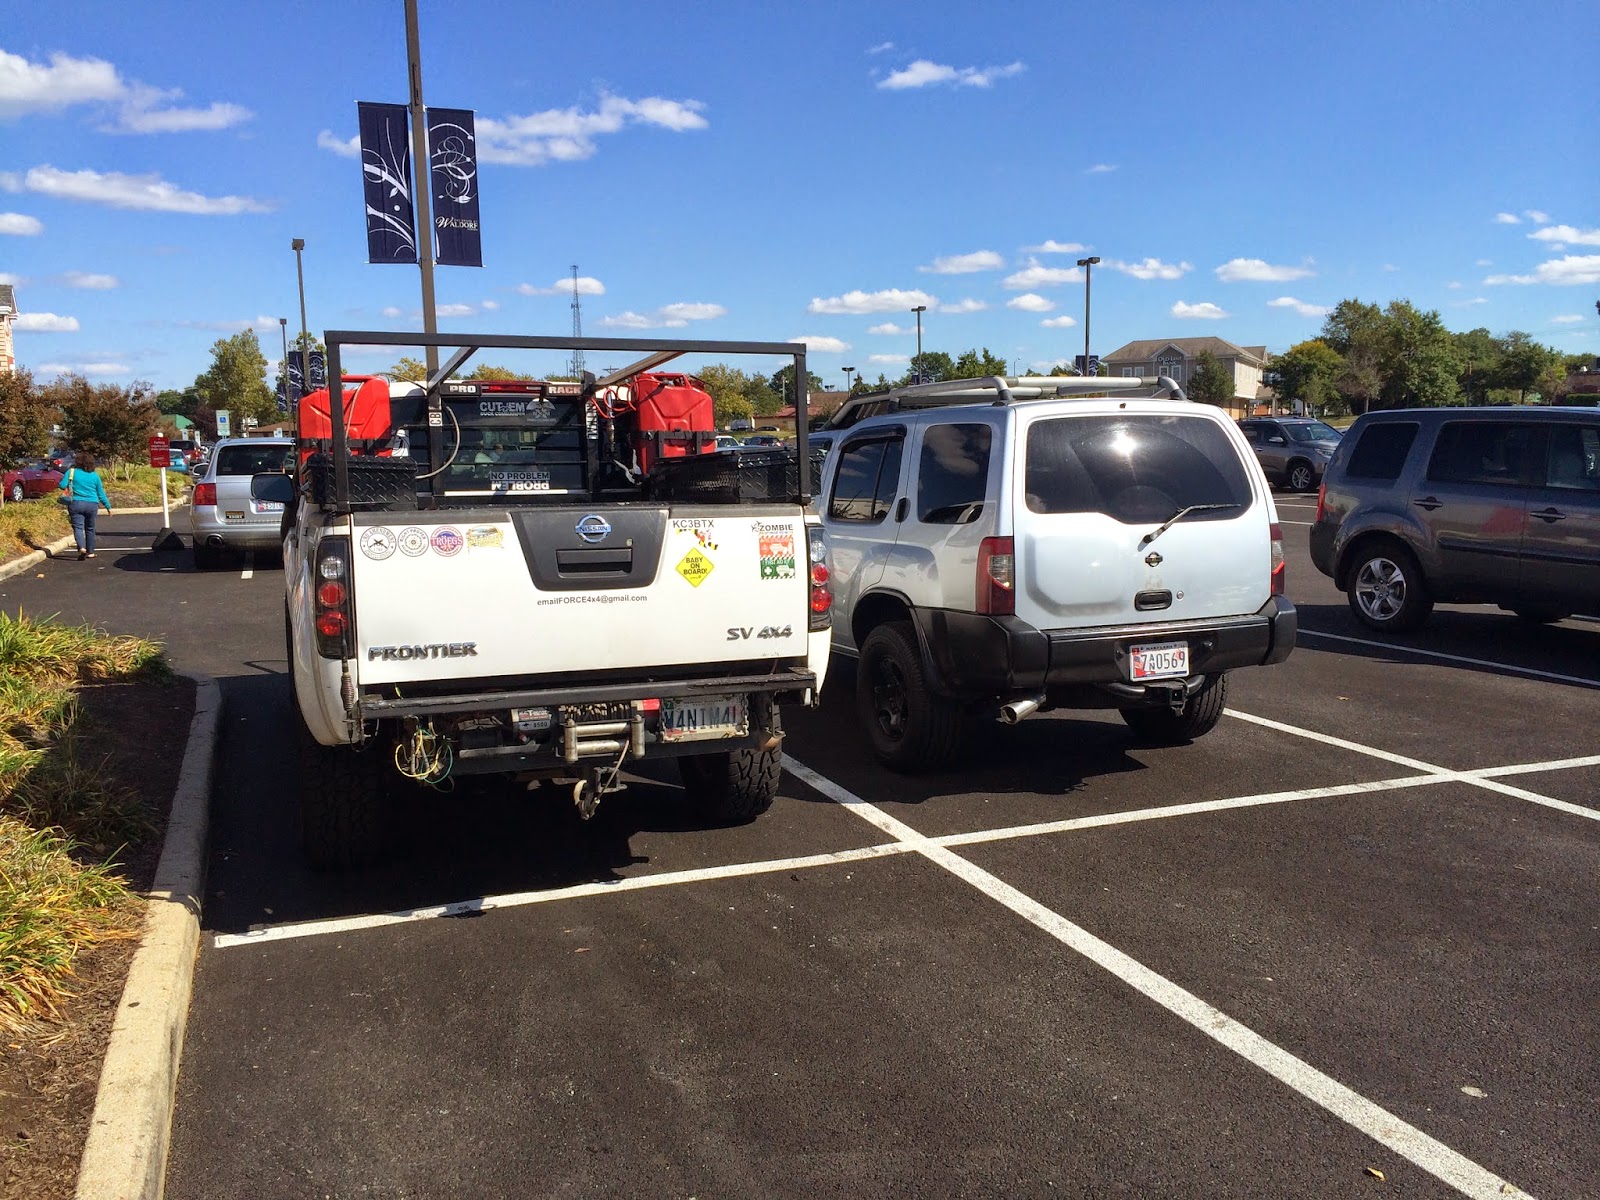
 We took a break to drop off one of Casey's friends and to grab some grub. The trucks were to one side of the lot. The bikers went to the other. They had a screened pavillion which was dog friendly. Maddy was allowed inside but she became a bit of a nuisance wanting to meet everyone. Daddy couldn't focus on his food. So she went back to her specially appointed cubby in the truck.


 Cruzer spoils her. He was again her favorite. Look at how she is legit staring at this dude adoringly.
 This is where Ben pledged his allegiance to ride with me to Rubicon and Moab in 2016. At least that's what I left the conversation believing. Bruce L. should be ready by then too. He just might not know it yet.


 This is a fire observation tower. From the top, you can see Atlantic City and Philly. Except I didn't go all the way to the top. It was rickety as all hell. And then people somehow detected my unease with heights and started rocking the supports. I only made it 3/4 of the way up. I was concerned about load bearing capacity. So I quickly snapped the below pic and came back down.


 This was the first test of the Trail Rack and my attempts at mounting two spares to the top. The Trail Rack seemed pretty stout. I added a temporary cross brace running longitudinally in case one of the tires shifted, it would be prevented from crashing down into the bed below. I need to devise a more elegant system than employing 3 ratchet straps. The excess slack, although tied up was blowing around and it annoyed me.


 So we found a path leading down into the basin. One of the guys that jumped into Casey's rig at the midpoint mentioned someone should attempt the steep descent. I've become a bit of a steep descent aficionado; so, it seemed Veronica and I might be up to the task. Except the edge kind of mounded up and the bank was pretty soft. So guess what I did? High center #2. If you are keeping score, you might think I tied the record of two high centers in the same day. Although that did happen at Kennedy Ridge in GWNF, that was two high centers on the SAME obstacle. This new record is simply for the quantity of high centers in one day.

 This was actually the most challenging extraction to date. I rank this based on the number of vehicles and methods employed. Cruzer might disagree because he had to do a lot of shoveling up at Rock Run when that UTV guy told us to take the creek bed trail. That was laborious, but it was just some pretty straight forward winching that got me through. Two good pulls at two anchor points.

First we tried a tow strap pulled by one Xterra. No go. Then we tried a snatch strap, hoping to employ the stored potential energy of the elastic band to energetically snatch the truck. First attempt only served to snatch the guy's bumper forward by about an inch. Then anchored to the rear and nothing.

Then we decided to use the rear winch. Pulled out the snatch block and anchored it back to my bumper. I dragged the guy's truck to me instead of pulling myself free.

Finally we took one of my tow straps, connected two Xterras in series, with the rear winch, and Cruzer's MaxxTracks. And that got me out. Almost finished this post without mentioning the in-cab winch controls. Man it worked like a charm. I was at first bummed about the momentary switches I used, because they actually lock in the two extreme positions. Initial electrical contact can be made with a slight throw in either direction; however, full articulation of the switch locks it into 'On'. I thought this could be a safety risk, but it actually was a benefit for the rear winch which no longer free spools. I engaged the 'on' safety switch and then threw the line switch into the 'out' position. From outside of the cab, I could help set up the snatch block, and monitor the length of line deployed. By the time we had sufficient slack fed, I was able to calmly re-enter the vehicle, shift into reverse, and then command the line back onto the spool. Loved it.

It probably took more time to write that then it did to employ those various attempts, but it was the most involved extraction I've been associated with to date.
 Our time in the Pines ended with a quick visit to a Ghost Town where we looked at some building foundations.

 I got called out for staging the fake candid group selfie. I explained I was attempting to make it look like I had one more friend that I caught taking a picture of us. I was reminded that I don't have any friends.
 I took this trying to be artsy fartsy. It is just a dirty bumper.

I realize I have written very little about the actual terrain. By and large, the area is fairly accessible to a well-provisioned group. The soils are of a sandy consistency. There are often large swaths of sandy stretches that remind me of driving on the 4x4 area of Corolla, NC. The depths of the sands are such though, that one need not air down to the extent that Corolla requires. 20 psi was sufficient and no one sunk in or had difficulty stopping or stopping. The watery areas can be treacherous for the intrepid wheeler. The word of caution we operated by, as we had life-long residents and enthusiasts of the area in our group was as follows: "If there is a bypass available, you should take it". The depths of the deeper sections are sufficient to swallow even a modestly lifted truck to hood deep and beyond. From having waded many of the water sections, I can tell you that there are often deeply rutted, canyon like troughs running longitudinally in the direction of the path of travel. Choosing the wrong line could result in sudden off-camber orientation of the vehicle. The solution of 'MORE GAS" could be disastrous as you could run your cross members headlong into one of the more solid sections of the basin. Generally, I found the bottom to be quite mucky, which permitted, even under my modest bodyweight, for additional sinking of maybe 4-5 inches. We faired well with steady throttle through the crossings after first testing them out.

There are numerous roads traversing through the Pine Barrens. There are sections where we would come out onto pavement, maybe drive 300 yards or so, and then reenter a sandy section. The longest section on pavement was maybe 5-7 miles, but there are miles upon miles of paths to be traversed. Many of the roads showed up on my GPS; some did not and after a while it powered off as I was using the outlet primarily for the phone to remote control my Go Pro.

Your best bet is to go with folks who have frequented the area. Our leader for the day was actually 14 when he first started frequenting the area with his mom in a used CJ. They buried it so deep one day that they took the tags, and their belongings and hiked back to civilization. You want to go with a guy like that can tell you where to avoid the remnants of his long lost CJ.

It was a great time with good folks. Quite a few newbies, but despite some of the perils I identified, the trails we took were largely stock friendly. No large rocks or particularly challenging technical sections. The 'toughest' part was a bypass that was littered with roots and a few high cut stumps. Other than that, sandy fire roads interspersed with some water crossings. If your vehicle did not come equipment with axle breather tubes, an inexpensive modification to the port with some tubing to vent to a higher elevation on the vehicle would be sufficient. Some guys ran it stock without this mod and appear to have been fine.

That's it for now. I need to get some video up to the YouTube page, but I think I've exhausted my computer allowance for one night.

'Til next time.